


 русский
 Español
 عربى
عربى Türk
Türk
A modern air conditioning blower motor for the 2013 and later generation Ford Ranger. Built to exacting original equipment specifications (OEM No. No. 264457, RC.530.136), this motor is designed to me...
See DetailsHow to Replace a Rear Blower Motor: A Complete Step-by-Step Guide
Published on 07 16, 2026
Content
- 1 Understanding the Role of a Rear Blower Motor
- 2 Common Signs of a Failing Blower Motor
- 3 Tools and Preparation Needed
- 4 Locating the Rear Blower Motor Assembly
- 5 Step-by-Step Replacement Procedure
- 6 How to Test a Blower Motor Before and After Replacement
- 7 Practical Tips for a Smooth Replacement
- 8 Frequently Asked Questions
Understanding the Role of a Rear Blower Motor
A rear blower motor is responsible for pushing conditioned air through the rear ductwork of a vehicle, supporting the secondary climate control zone found in minivans, SUVs, and larger passenger vehicles. Unlike the front unit, this component often works harder and longer because rear passengers rely on it for both heating and cooling comfort, especially on extended trips.
Over time, dust accumulation, worn bearings, or electrical faults can cause this motor to weaken or fail entirely. Recognizing the signs early and understanding the replacement process can save time and prevent further strain on the HVAC system.
Common Signs of a Failing Blower Motor
Before starting any repair, it helps to confirm the symptoms pointing toward motor failure rather than a simpler issue like a blown fuse or loose connector.
- Weak or inconsistent airflow from rear vents
- Unusual grinding, rattling, or squealing noises
- Complete silence when the rear fan is switched on
- Intermittent operation that worsens with vibration or temperature
- Burning smell near the rear HVAC housing
| Symptom | Likely Cause | Urgency Level |
|---|---|---|
| No airflow at all | Failed motor or blown fuse | High |
| Noisy operation | Worn bearings or debris | Medium |
| Weak airflow | Partial motor failure or clogged filter | Medium |
| Intermittent function | Loose wiring or failing resistor | Medium |
Tools and Preparation Needed
Replacing a car blower motor in the rear compartment typically requires basic hand tools and a small amount of trim removal. Gathering everything beforehand keeps the job efficient.
- Socket set and screwdrivers (Phillips and flathead)
- Trim panel removal tool
- Replacement blower motor unit matching OEM specifications
- Work gloves and safety glasses
- Flashlight or work light for confined spaces
- Multimeter for electrical testing
Always disconnect the vehicle battery before beginning electrical work to avoid short circuits or accidental activation of the fan.
Locating the Rear Blower Motor Assembly
The rear blower motor is typically housed behind a side panel near the rear wheel well or beneath the rear seat area, depending on vehicle layout. The diagram below outlines a general access path.
Step-by-Step Replacement Procedure
Step 1: Disconnect Power
Remove the negative battery terminal to eliminate any risk of electrical shock or short during disassembly.
Step 2: Remove Interior Trim
Carefully pry off the side panel or seat trim covering the blower housing. Use a trim tool to avoid cracking plastic clips.
Step 3: Access the Housing
Locate the mounting screws securing the blower housing cover. Remove them and set aside in a labeled container.
Step 4: Disconnect Wiring
Unplug the electrical connector attached to the motor. Inspect the connector for corrosion or damage before proceeding.
Step 5: Remove the Old Motor
Unscrew the mounting bolts holding the electric blower motor in place, then gently pull it free from the housing, taking care with the fan blade clearance.
Step 6: Install the New Motor
Position the replacement 12V blower motor into the housing, aligning mounting holes precisely. Secure with bolts, then reconnect the wiring harness.
Step 7: Test Before Reassembly
Reconnect the battery temporarily and test fan operation across all speed settings before closing up the trim panels.
Step 8: Reinstall Trim and Finalize
Once confirmed functional, reattach the housing cover and trim panels, then reconnect the battery fully.
How to Test a Blower Motor Before and After Replacement
Testing confirms whether the issue lies with the motor itself or elsewhere in the circuit, such as a blown fuse, faulty resistor, or damaged wiring.
| Test Type | Tool Used | Expected Result |
|---|---|---|
| Voltage check at connector | Multimeter | Reads battery voltage when fan is on |
| Direct power test | Jumper wires | Motor spins when powered directly |
| Resistance check | Multimeter (ohms) | Consistent reading, no open circuit |
| Fuse inspection | Visual or continuity test | Fuse intact, no break in filament |
If the motor spins freely under direct power but not through the normal circuit, the fault likely lies in the switch, resistor, or wiring rather than the vehicle blower motor itself.
Practical Tips for a Smooth Replacement
- Take photos of wiring and mounting positions before disassembly for reference
- Clean debris from the housing before installing the new motor
- Check that the fan blade is properly seated and balanced after installation
- Avoid overtightening plastic housing screws to prevent cracking
- Test airflow at all fan speeds, not just the highest setting
Frequently Asked Questions
Q1: What does a rear blower motor do?
It circulates heated or cooled air through the rear ventilation system, supporting the secondary climate zone in vehicles equipped with dual-zone HVAC setups.
Q2: Where is the rear blower motor located?
It is generally positioned behind a rear side trim panel, under a rear seat, or within a dedicated HVAC housing near the rear wheel well, depending on vehicle design.
Q3: Why is my rear blower motor not working?
Common causes include a blown fuse, worn motor bearings, corroded wiring connections, a failed blower resistor, or complete motor burnout from prolonged use.
Q4: How do I test a rear blower motor?
Use a multimeter to check voltage at the connector and test the motor directly with jumper wires to confirm whether the fault lies in the motor or the surrounding circuit.
Q5: Can I drive with a bad rear blower motor?
Yes, driving is still possible, but rear passengers will lose heating or cooling comfort, and in some vehicles a stuck motor may draw excess current and affect fuse stability.
Related products
-
-
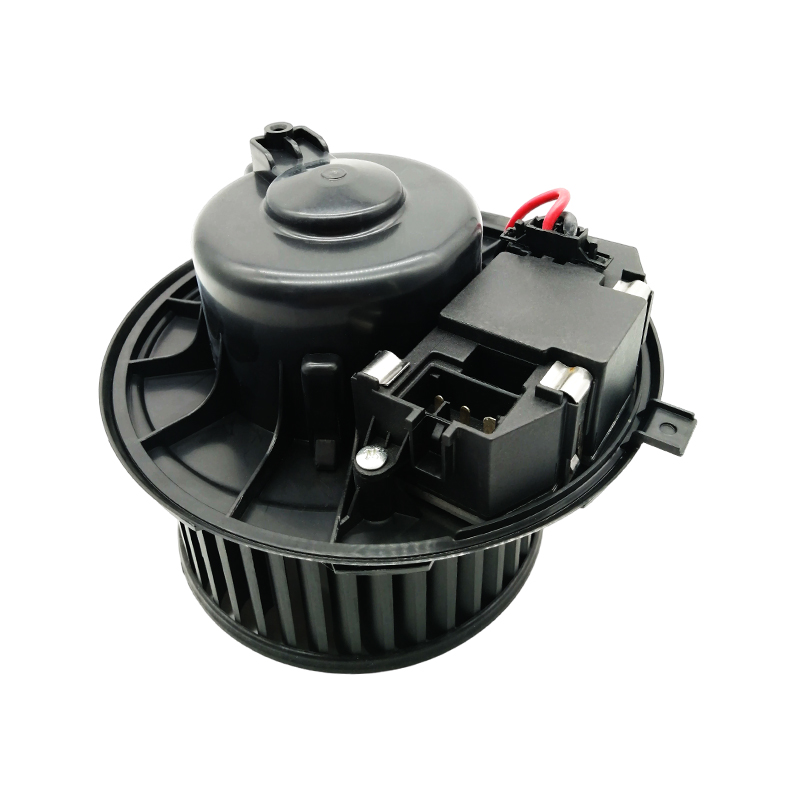
The JK-66136DZ is a blower assembly with an integrated electronic speed control module, designed specifically for popular Volkswagen Group models. It perfectly replaces the original factory part, ensu...
See Details -
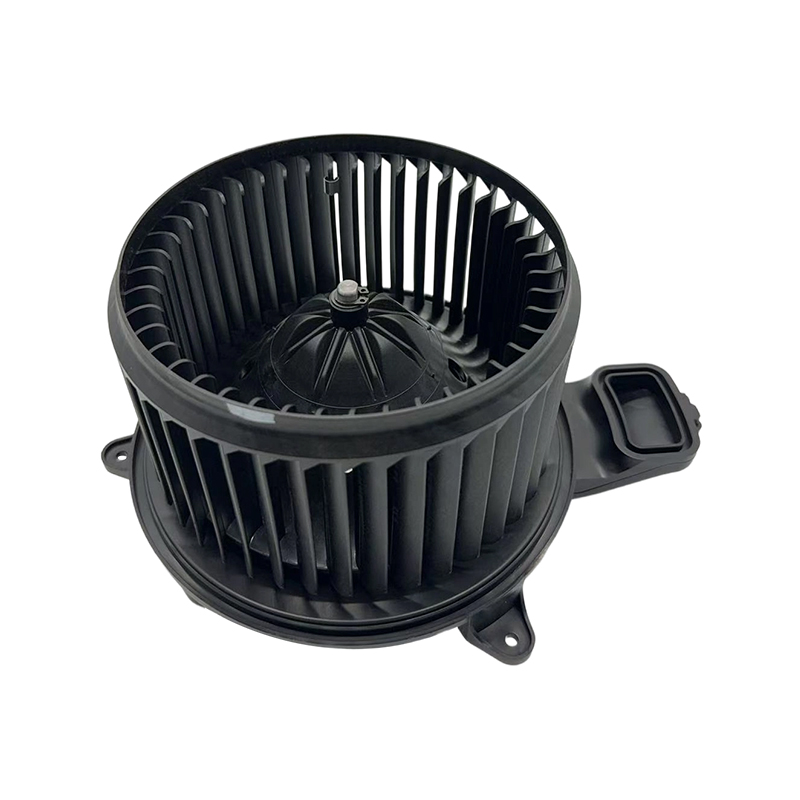
This brushless blower is designed specifically for Kenworth and Peterbilt heavy-duty trucks. It utilizes high-efficiency brushless motor technology to ensure stable cooling, quiet operation, and a per...
See Details -
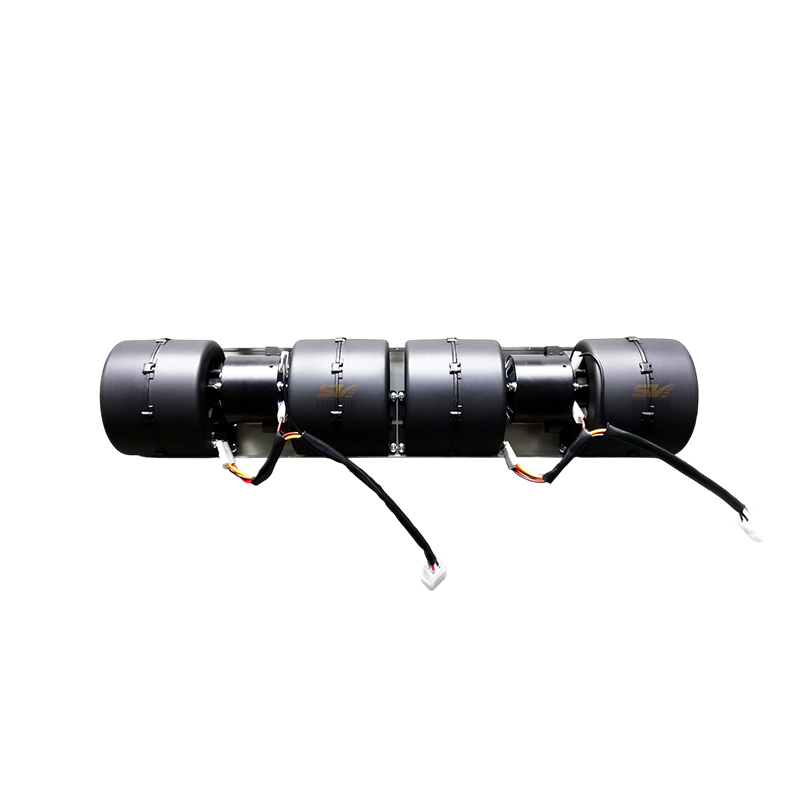
The JK-77027A is a versatile blower with good compatibility, designed to cover a wide range of tractor models from major agricultural machinery brands, including Deere, New Holland, and Ferguson (such...
See Details -
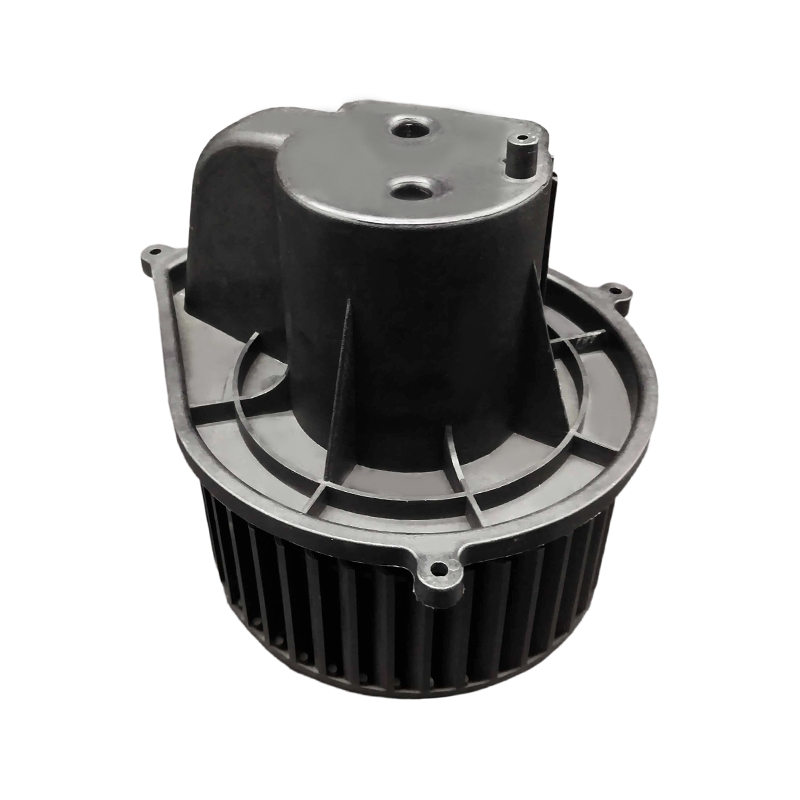
A precision replacement blower for 2006-2008 Fiat Ducatos. The JK-66701 adheres strictly to original equipment manufacturer specifications (OEM No.: 46722992), ensuring perfect compatibility with the ...
See Details -
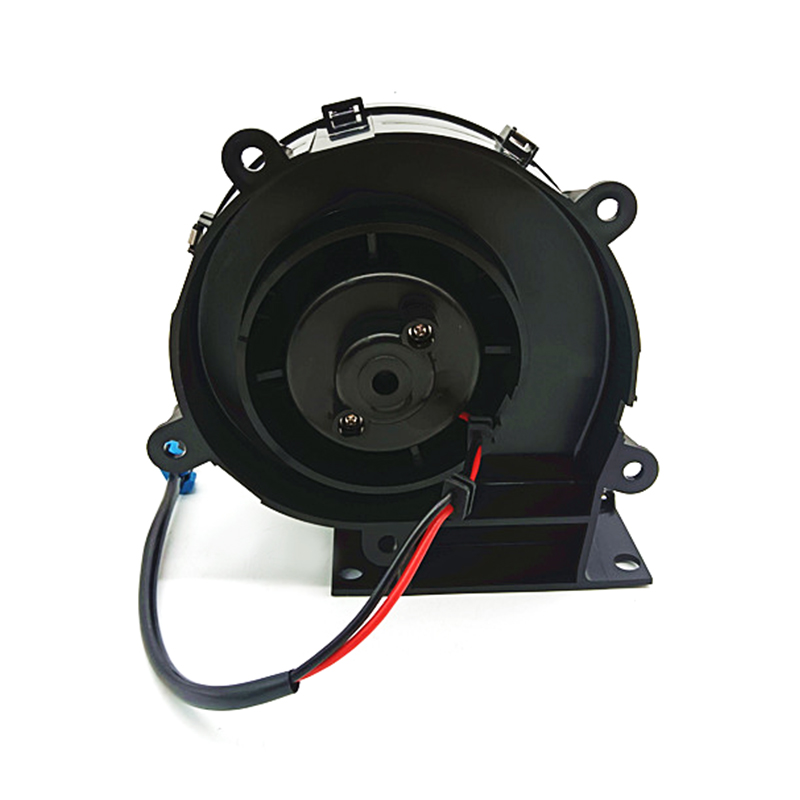
The JK-66716 blower is designed specifically for heavy-duty agricultural machinery. As an original equipment replacement for the John Deere 7815, 7230, and 7225 models (OEM No.: RE237675, RC.530.153),...
See Details
© 2026 Zhejiang Shuolang Motor Parts Co., Ltd. All Rights Reserved. Custom Automotive Air Conditioning Parts Manufacturer
