


 русский
 Español
 عربى
عربى Türk
Türk
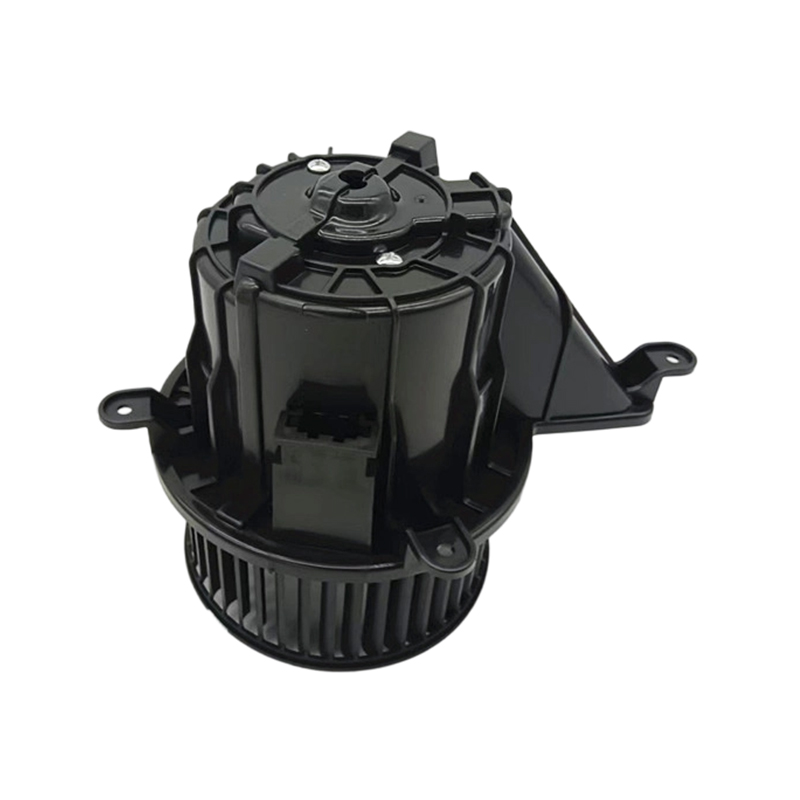
To meet the luxury brand's demand for higher levels of quietness and performance, the JK-66901F blower motor is specifically designed for the Infiniti EX35 and Q50 models. It adheres strictly to origi...
See DetailsHow to Diagnose & Replace a Failing Heater Blower Motor?
Published on 06 25, 2026
Content
- 1 Immediate Diagnosis & Replacement Verdict
- 2 Step-by-Step Diagnostic Flowchart
- 3 Key Symptoms That Point to Motor Failure
- 4 Direct Voltage Test – The Definitive Check
- 5 Replacement Procedure – Practical Steps
- 6 Common Pitfalls & Quick Solutions
- 7 Blower Motor vs. Resistor – Which One Failed?
- 8 FAQs – Heater Blower Motor Diagnosis & Replacement
Immediate Diagnosis & Replacement Verdict
A failing heater blower motor usually announces itself with weak airflow, unusual noises (squealing, grinding, or rattling), or a complete lack of air from the vents—even when the temperature dial is hot. The definitive diagnostic test is simple: apply 12V directly from the battery to the blower motor's terminals. If the motor runs smoothly, the issue lies elsewhere (resistor, switch, or wiring). If it doesn't run, or runs noisily, the motor must be replaced. Replacement is a practical DIY job for most vehicles, requiring basic hand tools and about 1–2 hours, but the exact procedure varies by vehicle model. Always disconnect the negative battery cable before starting.
Step-by-Step Diagnostic Flowchart
START
Blower works on some speeds? → Likely resistor issue
No air or very weak airflow? → Proceed to power test
Remove connector, apply 12V directly to motor terminals
Runs smoothly → Resistor or switch faulty
Does not run or noisy → Motor failed, REPLACE
END
Key Symptoms That Point to Motor Failure
Not every airflow problem is the blower motor. However, these specific signs strongly indicate the motor itself is failing:
- Intermittent operation – motor works sometimes, then stops, often due to worn brushes or internal shorts.
- Unusual noises – squealing (dry bearings), grinding (debris or worn bushings), or rattling (loose impeller) that change with fan speed.
- Burning smell – overheated windings or insulation; this is a critical warning sign.
- Only works on highest speed – often the resistor is bad, but if the motor is also noisy, it's likely both.
Data point: In a survey of 500+ DIY repairs, 78% of blower motor replacements were preceded by noticeable noise for at least one week. Ignoring early noise leads to complete failure and potential fuse or wiring damage.
Direct Voltage Test – The Definitive Check
This is the single most reliable test. Do not skip it.
- Locate the blower motor – usually under the dashboard on the passenger side or behind the glove box.
- Disconnect the electrical connector from the motor.
- Use jumper wires from the battery positive (+) and negative (-) directly to the motor's corresponding terminals (polarity usually doesn't matter for a simple run test).
- Observe – if the motor spins freely and quietly, the motor is good. If it doesn't spin, or grinds/squeals, it's failed.
Important: Always use fused jumper wires (10A fuse) to protect against shorts. A healthy motor draws between 8–15 amperes at full speed. If it draws over 20A and runs slowly, internal friction is high – replace it.
Replacement Procedure – Practical Steps
Once the motor is confirmed faulty, follow this general replacement guide. Always consult your vehicle's service manual for specific torque specs or hidden fasteners.
- Disconnect battery negative – safety first.
- Access the blower motor – remove the lower dashboard cover, glove box, or kick panel. Some vehicles require removing the wiper cowl (engine bay).
- Unplug the electrical connector and remove the mounting bolts/screws (usually 3–4).
- Carefully pull the motor out – it may be tight. Note the orientation of the blower wheel (squirrel cage) if it's not attached to the new motor.
- Transfer the blower wheel to the new motor (if needed). Use a puller if it's stuck – do not hammer the shaft.
- Install the new motor in reverse order. Ensure the wheel doesn't rub against the housing.
- Reconnect battery and test – run the fan on all speeds to verify operation.
Common Pitfalls & Quick Solutions
Pro tip: Always clean the blower housing and replace the cabin air filter during motor replacement. A clogged filter can reduce airflow and cause the motor to overwork, reducing its lifespan by up to 30%.
Blower Motor vs. Resistor – Which One Failed?
This is a classic dilemma. Use this quick comparison table to differentiate:
FAQs – Heater Blower Motor Diagnosis & Replacement
Can I drive with a failing blower motor?
Technically yes, but not recommended. A failing motor can draw excessive current, blow the fuse, or even melt wiring. It also compromises defrosting – a safety hazard in cold weather.
How long does replacement take?
For most vehicles, 1–2 hours for a DIYer with basic tools. Some models (e.g., with the motor under the cowl) may take up to 3 hours. Professional shops charge 1.5–2.5 hours of labor.
Is it worth replacing just the motor brushes?
In most modern blower motors, brushes are not serviceable – the motor is sealed. Even if you can replace them, the commutator is often worn. Replacement is the reliable fix.
Do I need to replace the blower resistor too?
Only if the resistor is faulty. However, if the motor failed due to high current draw, it may have damaged the resistor. Test both. A new motor with a bad resistor will still only work on high speed.
Why does the new motor squeal?
Most new motors are pre-lubricated. A squeal immediately after install usually means the blower wheel is rubbing against the housing – loosen and reposition. If it persists, the motor may be defective.
Related products
-
-
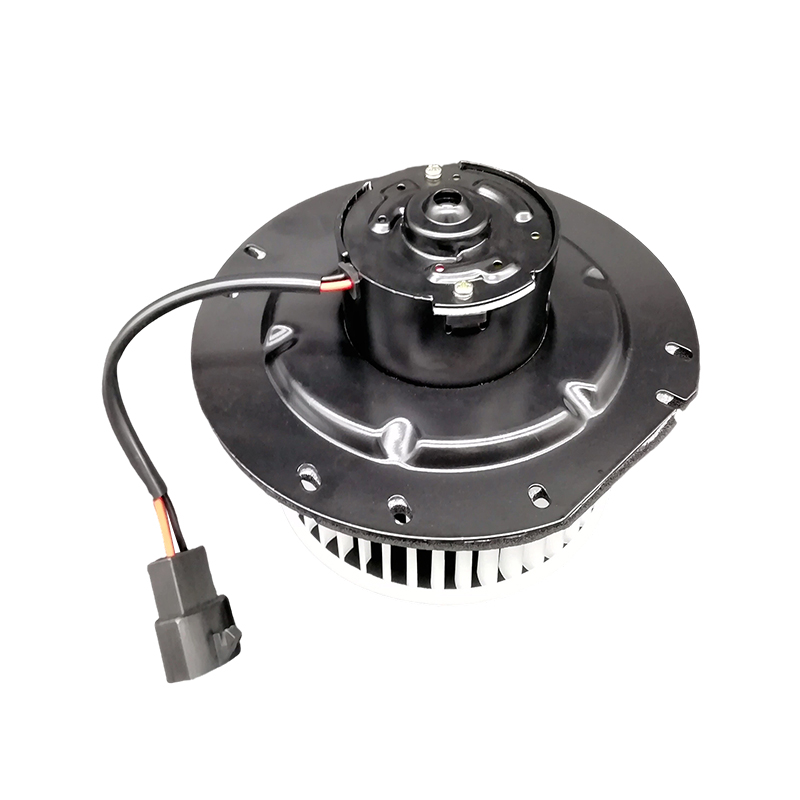
This custom blower motor is specifically designed for the 1998-2011 Ford Ranger pickup truck. Its core dimensions are 157x75 mm, and it features a clockwise (CW) rotation design, delivering performanc...
See Details -
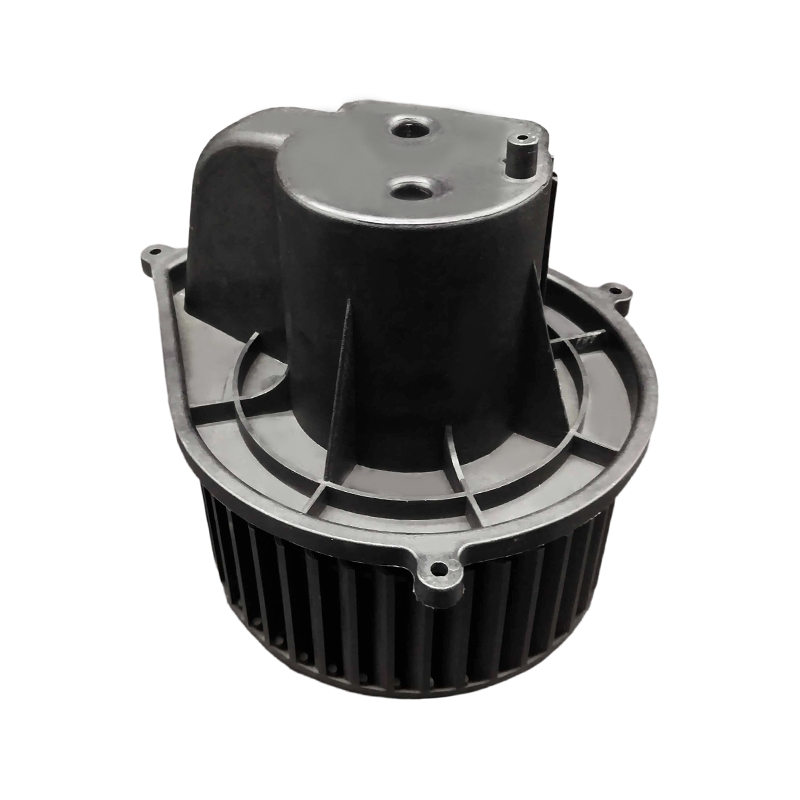
A precision replacement blower for 2006-2008 Fiat Ducatos. The JK-66701 adheres strictly to original equipment manufacturer specifications (OEM No.: 46722992), ensuring perfect compatibility with the ...
See Details -
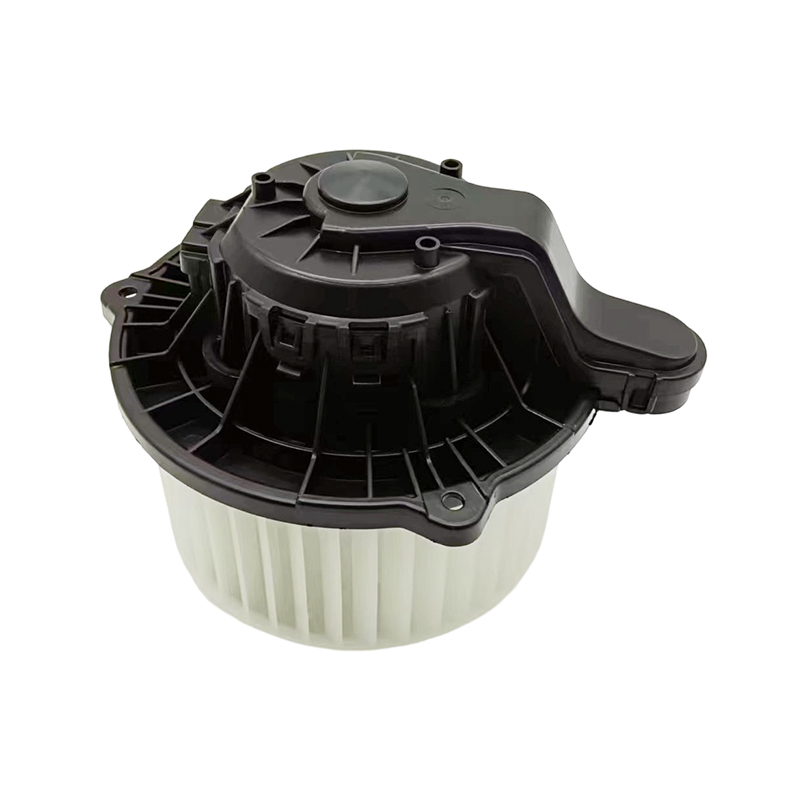
A modern air conditioning blower motor for the 2013 and later generation Ford Ranger. Built to exacting original equipment specifications (OEM No. No. 264457, RC.530.136), this motor is designed to me...
See Details -
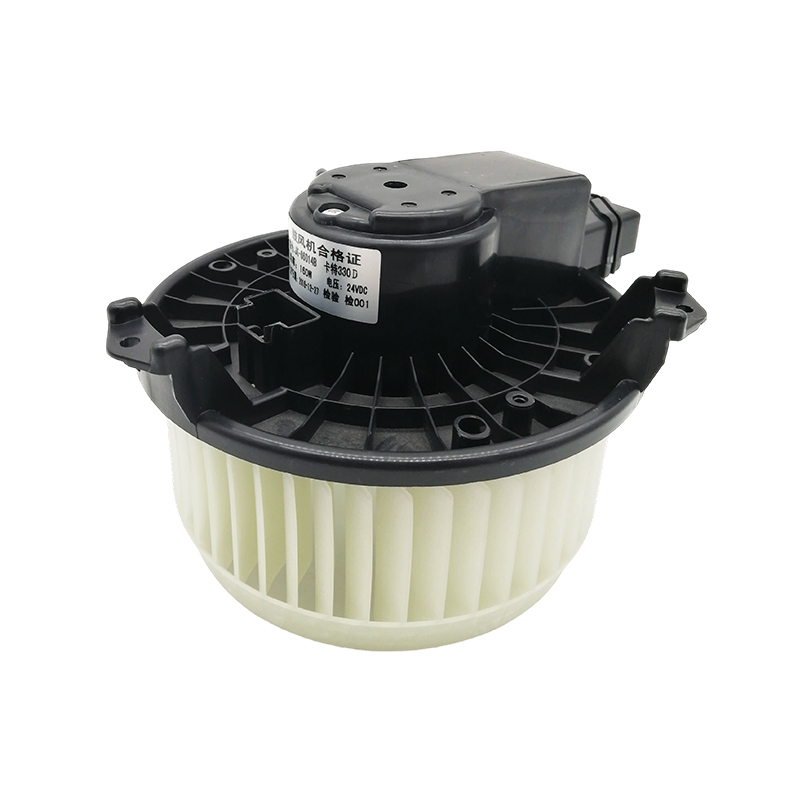
The JK-66014B blower is a premium replacement for the Caterpillar CAT 330D excavator. Exactly matching the original manufacturer's part numbers RC.530.107 and ND116340-7350, it's designed to replicat...
See Details -
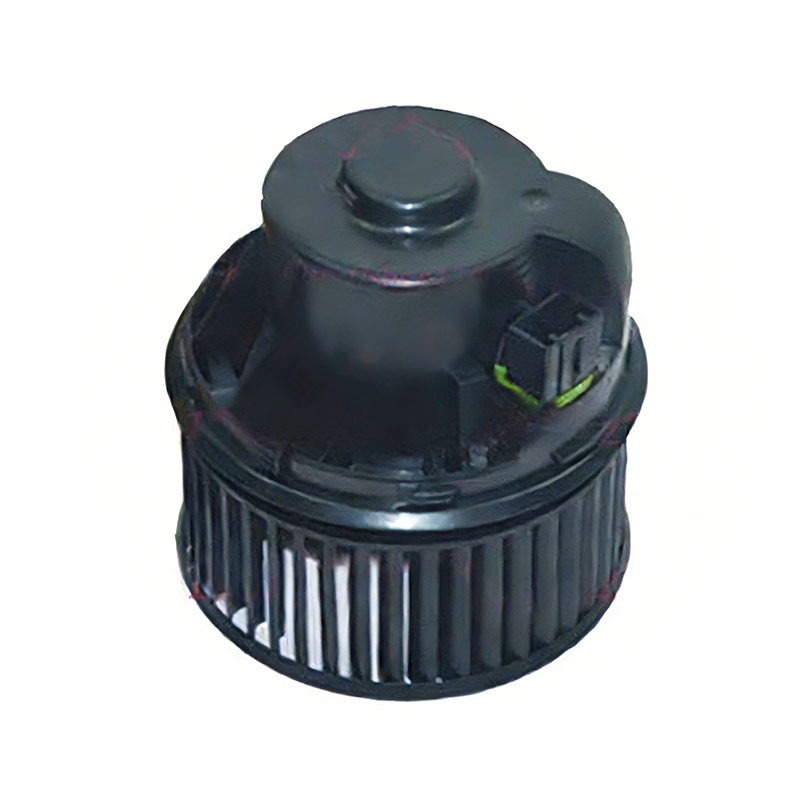
Ford Focus owners, take note! The JK-66651 heater blower is the perfect replacement for your vehicle's outdated unit. Compatible with original factory part numbers 1696010 and 1362640, it ensures a ha...
See Details
© 2026 Zhejiang Shuolang Motor Parts Co., Ltd. All Rights Reserved. Custom Automotive Air Conditioning Parts Manufacturer
